Platforma installation
Platforma consists of two components:
- Platforma Desktop App: A graphical user interface application installed locally on your computer. It allows you to perform analysis either on your local machine or utilizing server resources where the Backend Kit is installed.
- Optional Backend Kit: Available as a Docker image, this can be run on a server to provide additional resources for analysis.
Backend kit deployment on a remote server (optional)
Before deploying the Backend Kit, ensure Docker is installed on your server by following these instructions.
1) Connect via SSH: Access your server using SSH. Assume the server address is root@95.200.217.243 and that the user has an access to it.
ssh root@95.200.217.2432) Create Storage Directory: Set up a directory for storing Platforma intermediate and output files.
mkdir -p /platforma-primary-storage3) Set Up Docker Network: Create a network for Platforma and primary storage communication.
docker network create platforma4) Run Minio Docker: Emulate S3 storage with Minio using the primary storage directory.
docker run -d \
            -p 127.0.0.1:9000:9000 \
            -p 127.0.0.1:9001:9001 \
            --name minio \
            -v /platforma-primary-storage:/data \
            -e "MINIO_ROOT_USER=admin0" \
            -e "MINIO_ROOT_PASSWORD=password0" \
            --network platforma \
            quay.io/minio/minio server /data --console-address ":9001"
5) Reconnect with Port Tunneling: Exit the server session and reconnect, forwarding the required ports.
exit
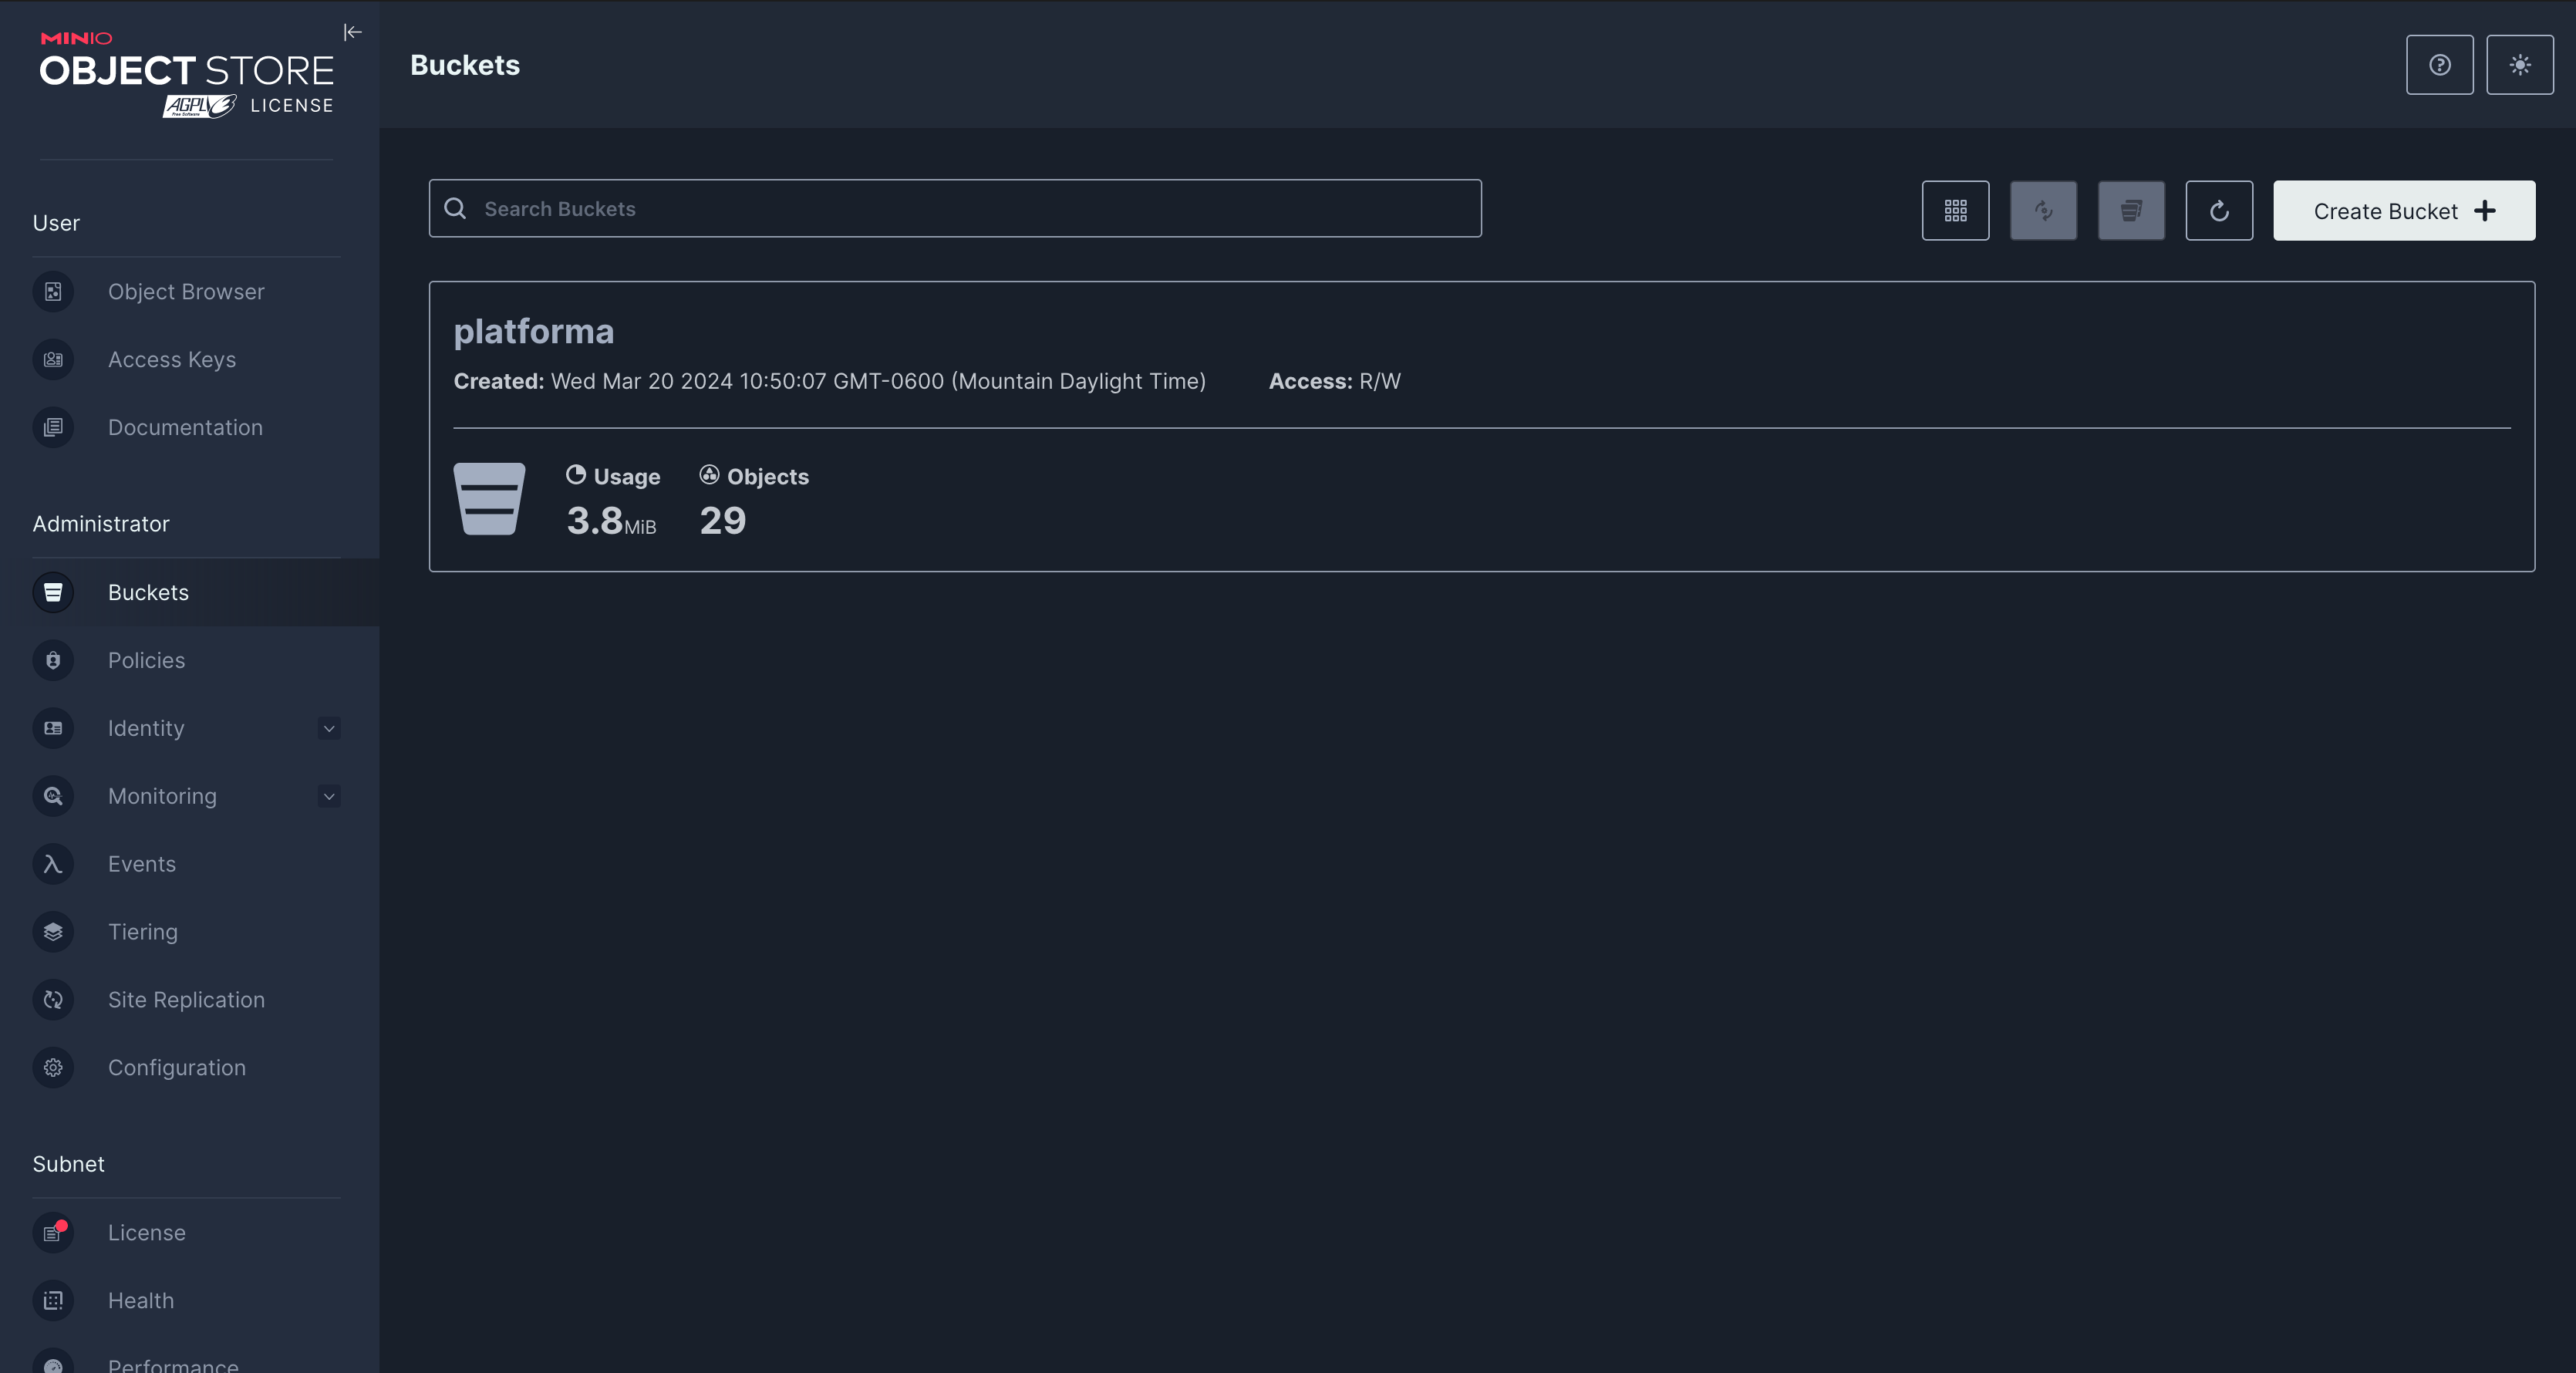
ssh -L9001:localhost:9001 -L9000:localhost:9000 root@95.216.217.146 6) Access Minio UI: On your local computer, navigate to http://localhost:9001. Log in using the credentials from step 4 (admin0 and password0 ). Then click on the Buckets button in the left menu and create a bucket named platforma .
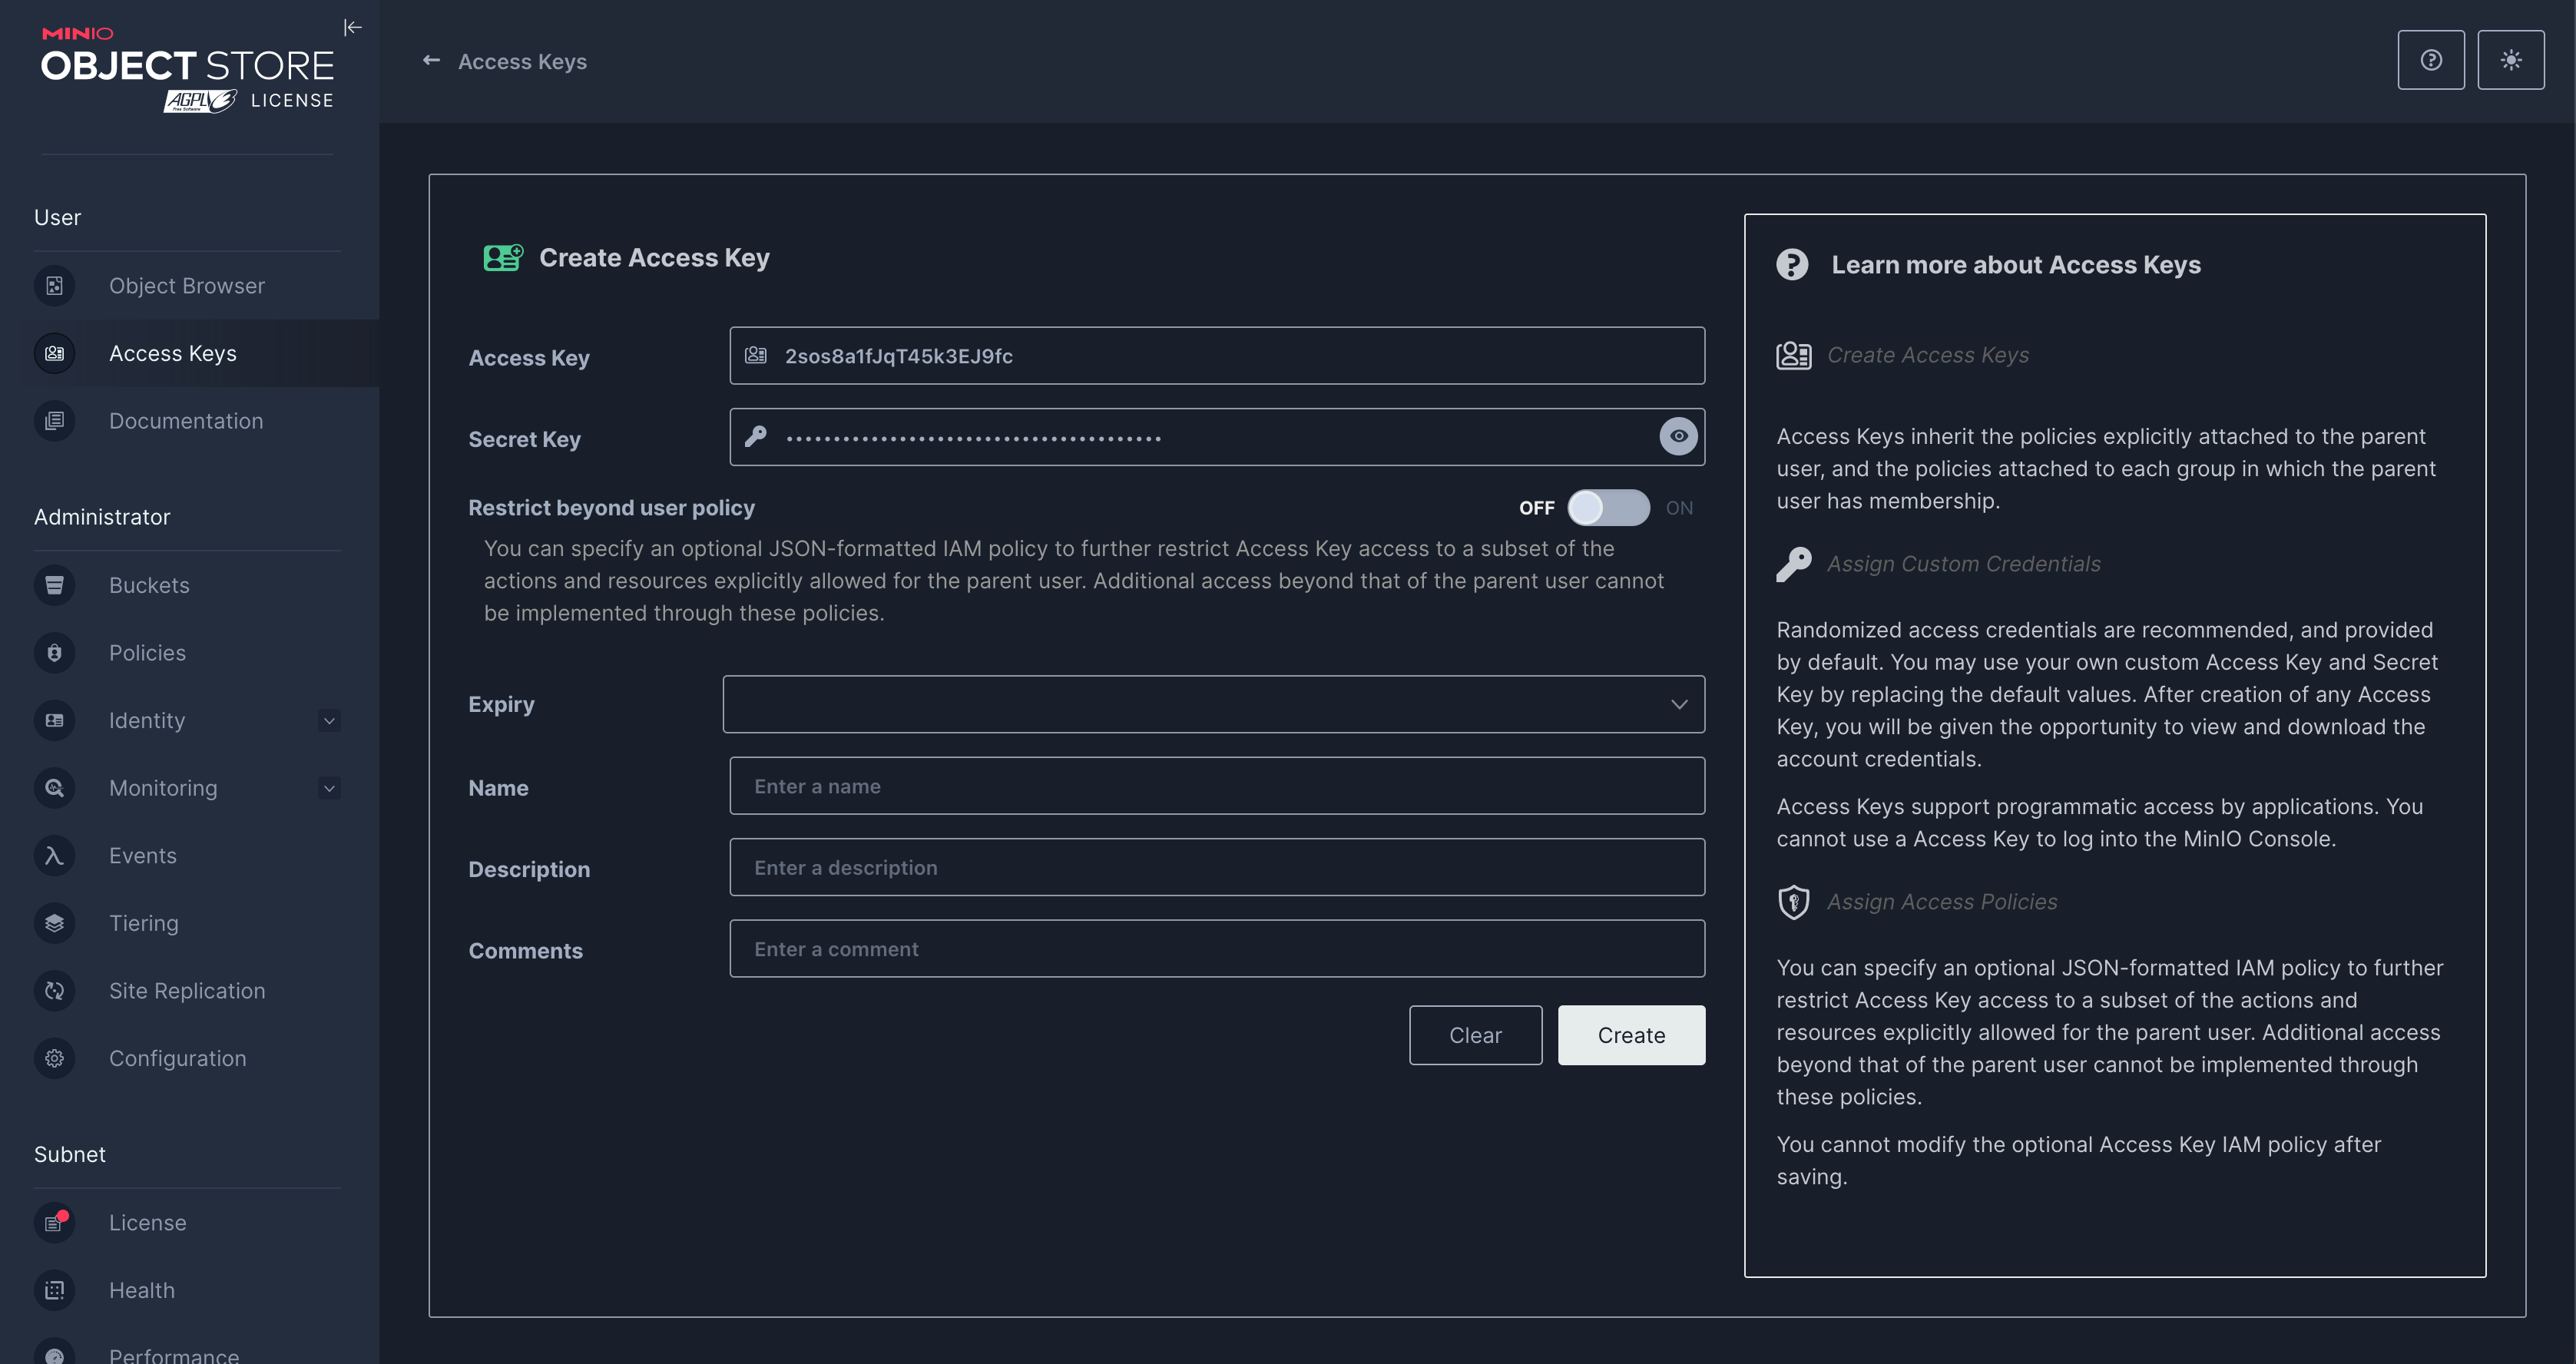
7) Click Access Keys button in the left menu and generate access keys. Save the {Access Key} and the {Secret Key} . Close the browser.
8) Prepare Platforma Configuration: On the server, create a directory for the Platforma configuration file.
mkdir /etc/platformaCreate or transfer the platforma.yaml file into this directory.
9) Install Apache2-Utils: Install necessary utilities for creating Platforma users.
sudo apt-get install apache2-utils 10) Create a User: Establish a user for Platforma with a username and password e.g.: test_user andtest_password .
htpasswd -b -c /etc/platforma/users.htpasswd test_user test_password11) Load Platforma Backend into Docker: Ensure you're using the latest Docker image version.
docker pull quay.io/milaboratories/platforma:0.11.0 12) Create the required set of directories for Platforma. The work directory will store all temporary files generated during Platforma's operation, the software directory is designated for installing all necessary tools, and the raw directory is where you will place all input data, such as FASTQ files.
mkdir -p /platforma-data/{work,software,raw} /platforma-db 13) Run Platforma Backend Docker: Start the Platforma backend, substituting {Access Key} and {Secret Key} with your values from step 7. Use the image name saved on the step 11 e.g. : quay.io/milaboratories/platforma:0.11.0
docker run --detach \
            --restart=always \
            -v /etc/platforma:/etc/platforma \
            -v /platforma-db:/db \
            -v /platforma-data:/data \
            -p 127.0.0.1:6345:6345 \
            --env AWS_ACCESS_KEY_ID={Access Key} \
            --env AWS_SECRET_ACCESS_KEY={Secret Key} \
            --name platforma \
            --network platforma \
quay.io/milaboratories/platforma:0.11.0PL_USER_ID and PL_GROUP_ID environment variables to provide that info to the process inside the container. Just the same way you can pass AWS_ in the example above. Also, regardless the instruction has an example of command with AWS credentials passed as command arguments (just for clarity), we recommend to use some other way of credentials specification. At least env file. Platforma uses standard AWS SDK, so you can any of possible ways supported by AWS, from files in user home dir to host-based role and session credentials.
14) Exit the server and reconnect with Port Tunneling for Platforma: Exit the server session and reconnect, forwarding the required ports.
exit
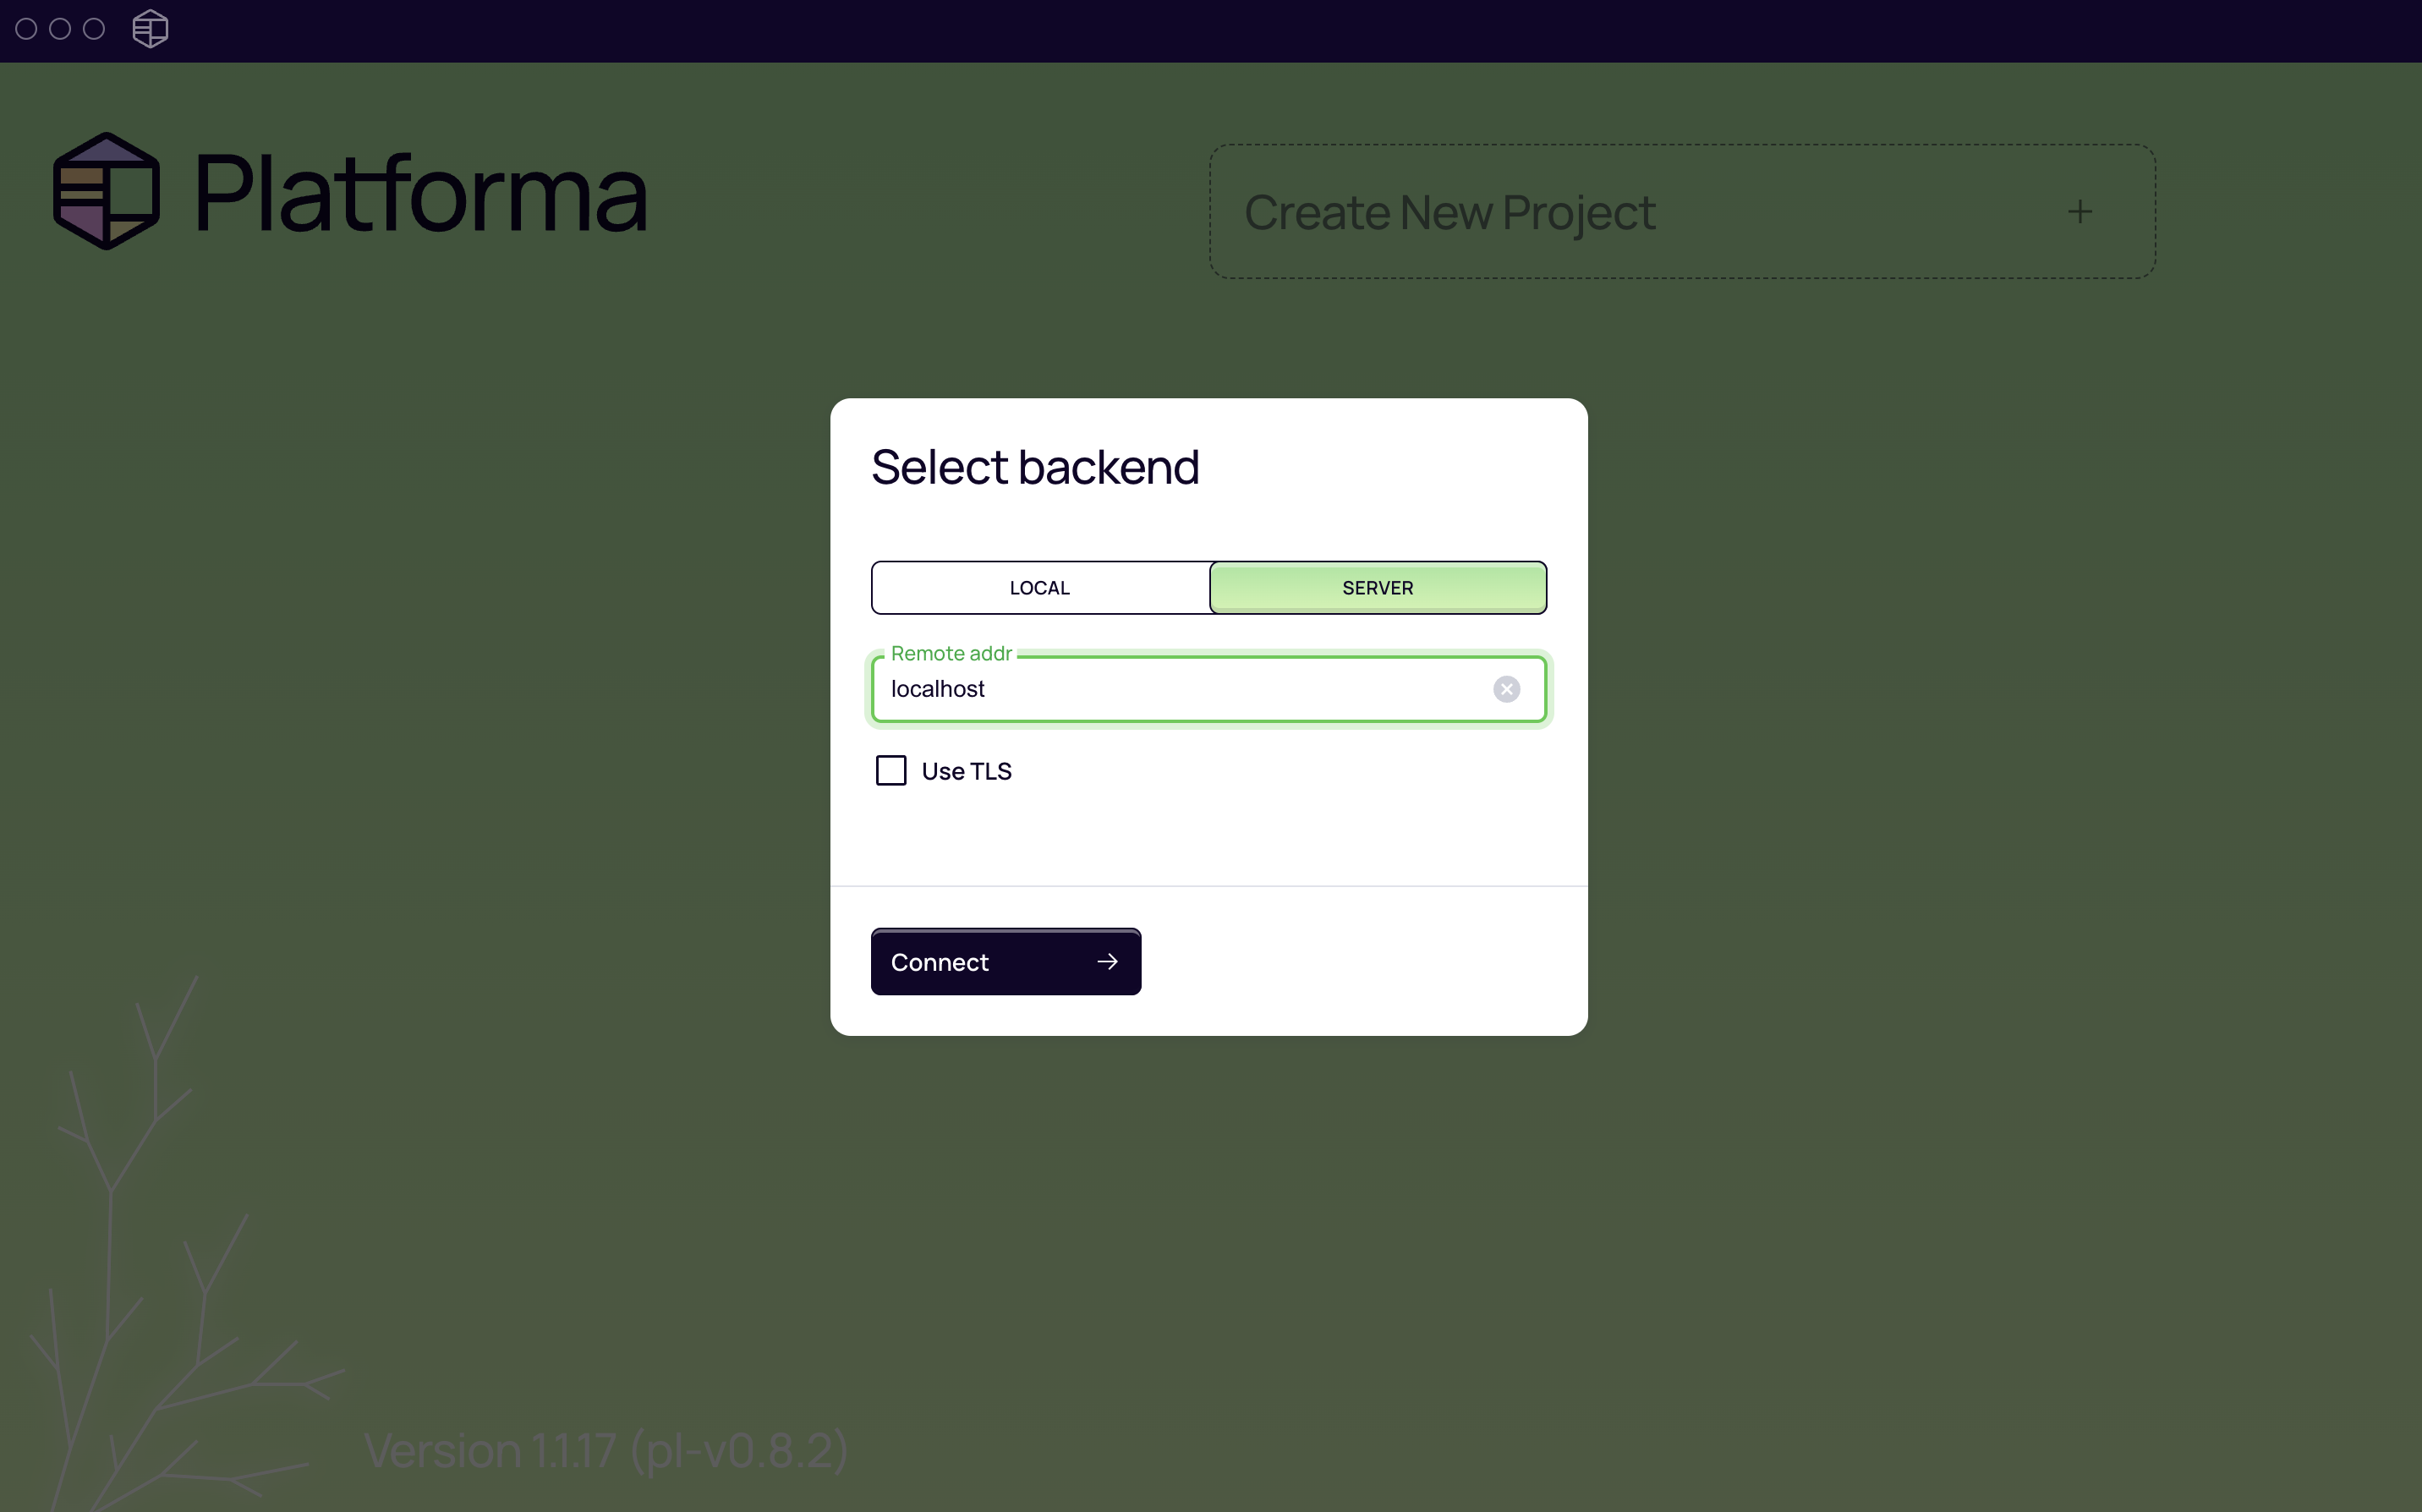
ssh -L9001:localhost:9001 -L9000:localhost:9000 -L6345:localhost:6345 root@95.200.217.243 15) Open the Platforma App on your computer and select Server backend. Type in localhost and click connect. Use the username and password generated on step 10 e.g.: test_user andtest_password .
Now the Platforma is running on the server and you can use it to process the files from the raw folder.